About the Cloud Browse Dashboard
The Cloud Browse Dashboard aims to provide users with seamless access to unauthenticated Browse images and supporting documents (User guides) stored in a public S3 bucket. An Amazon Simple Storage Service (S3) bucket is a public cloud storage resource available in Amazon Web Services (AWS). The Dashboard design adopts a minimalistic approach while incorporating all essential features. Data is presented in a structured directory format through a table view, where each entry corresponds to a dataset. Upon selecting a dataset, users can effortlessly navigate through subdirectories for BROWSE Images and supporting documents. The addition of a GIBS directory and a notification system is expected in the future. With functionalities encompassing image and document download, multi-select capability, printing options, and an interactive viewer equipped with search functionality, the Cloud Browse Dashboard significantly streamlines the data retrieval process and elevates the overall user experience when accessing GHRC's public data.
Cloud Browse URL
Home Page
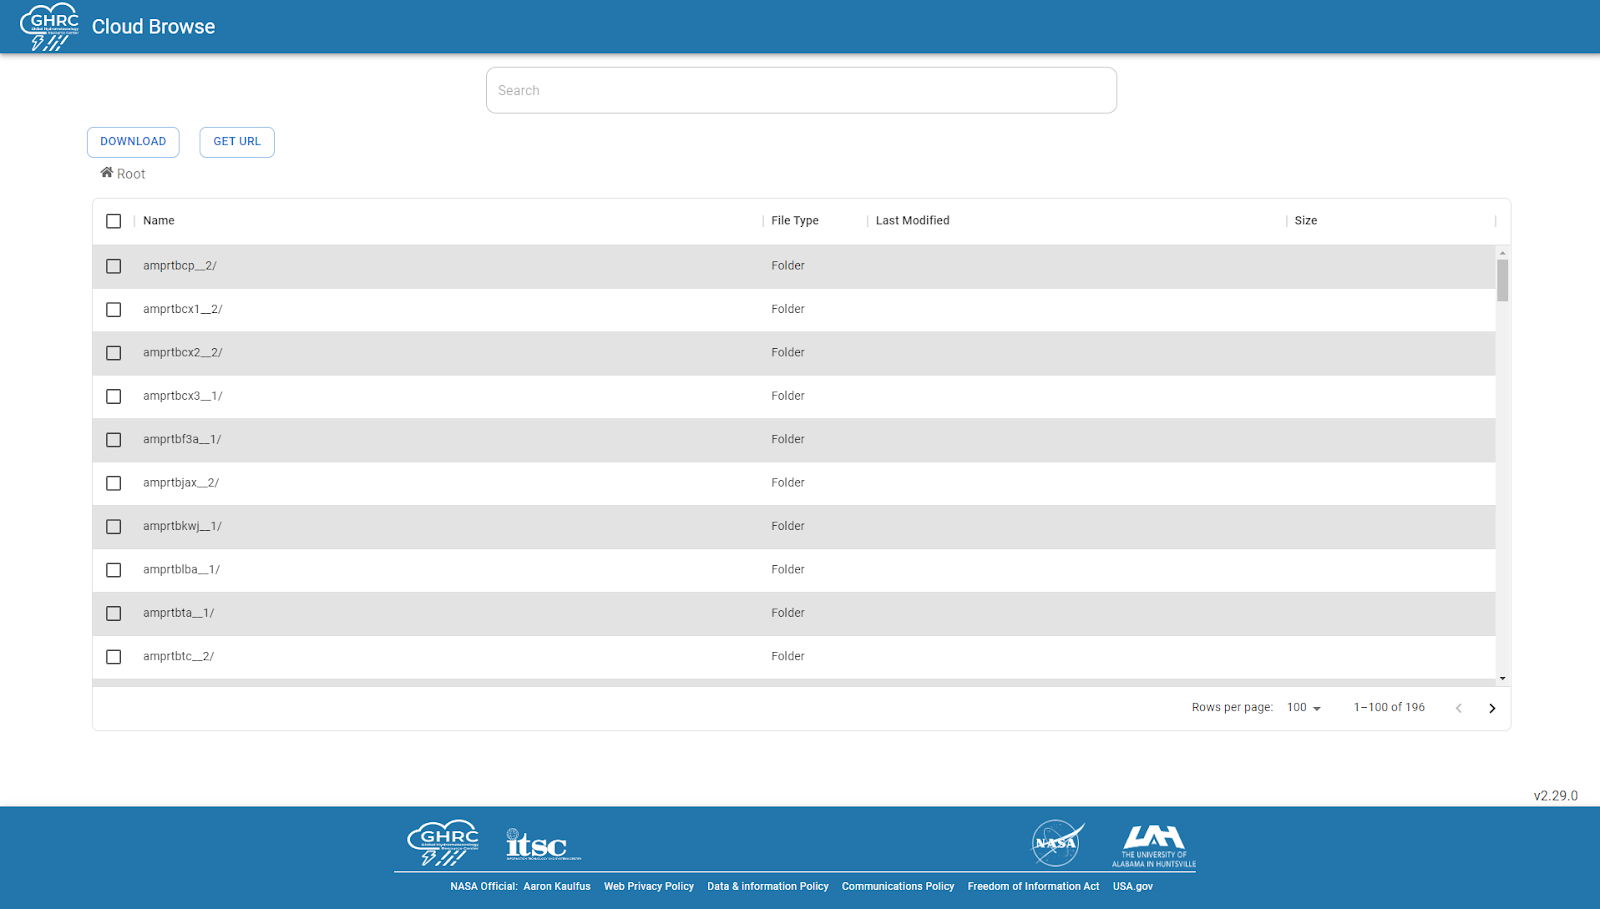
The cloud browse home page is pictured below in Figure 1. This is the first page you will see when you visit the Browse user interface link. This page consists of several items including (1) the GHRC logo and Cloud Browse, (2) a search bar, (3) a list of available datasets, (4) the page number and number of items per page, and (5) the version number.
Figure 1: Home page
Directory Structure
The Main table view shows the directory contents. The contents follow certain directory structures as mentioned below.
Dataset_version_name -> Browse -> Files
-> Docs -> Files
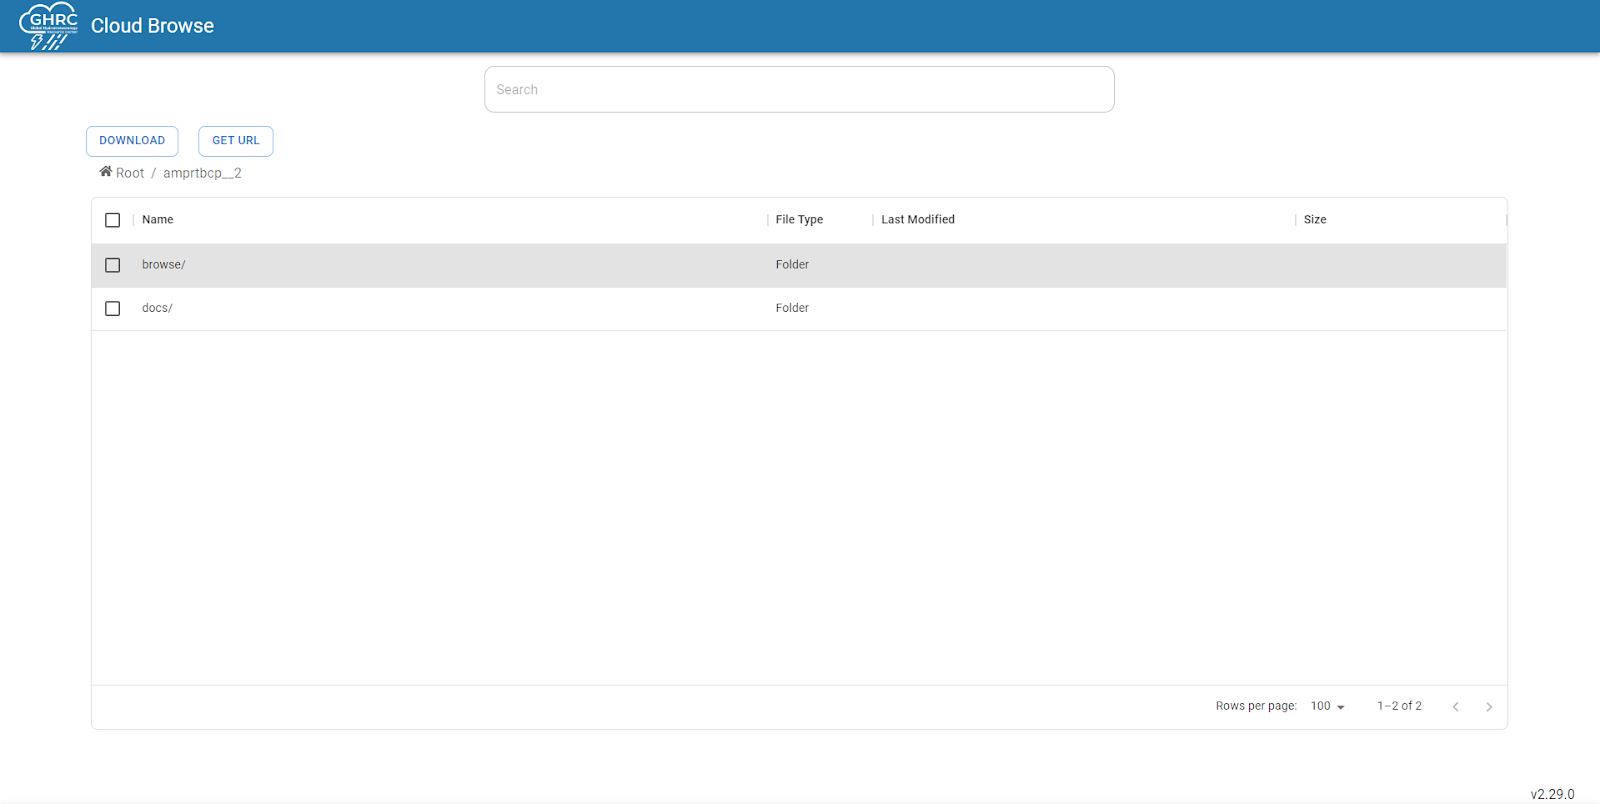
For this tutorial, please click on the first entry named, “amprtbcp__2”. When you do this, you will be shown the page below in Figure 2 consisting of both a ‘browse’ and ‘docs’ folder.
Figure 2: Browse and Docs folders
'Browse' Images
All of the images related to the dataset are stored under the `browse` directory.
All of the user guides, information notes, or documentation from the Data Producer related to the dataset are stored under the ‘docs’ directory.
Clicking on the ‘browse’ directory, you will see the following screen in Figure 3.
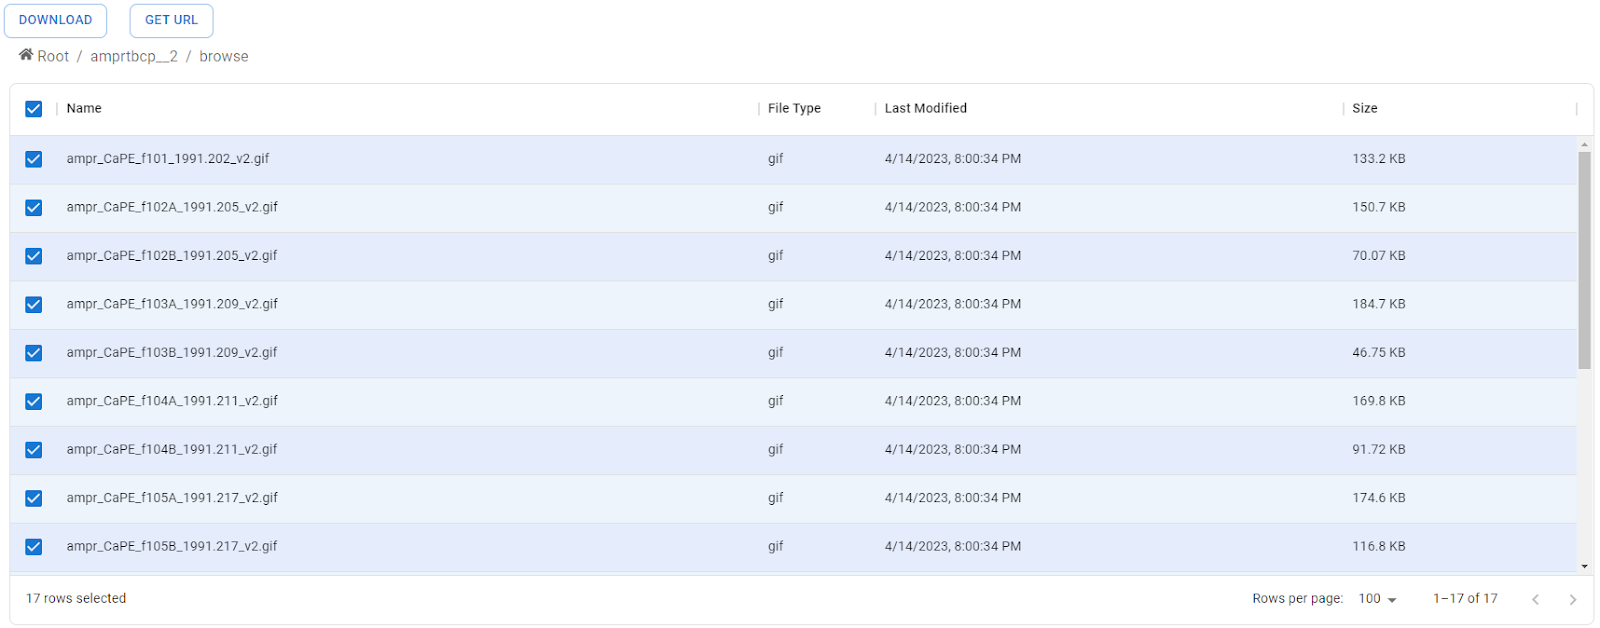
Figure 3: 'Browse' directory
This page displays the images associated with the dataset, which also gives the file name, file type, last time modified, and file size for each image.
The directory navigational aid shown in Figure 4 below the Download and Get URL buttons allow users to navigate the directories by clicking on them. The directory navigational aid, also called "breadcrumbs" allows users to know their current location on the site.
By clicking on the open box above the list of image files, you select all files within the ‘browse’ directory.
Figure 4: Files in the 'browse' directory with navigational aid
To select specific files, you can click on the open box by the file name. For example, we have selected the following four files (list names) as shown in Figure 5 below.
Figure 5: Specific files
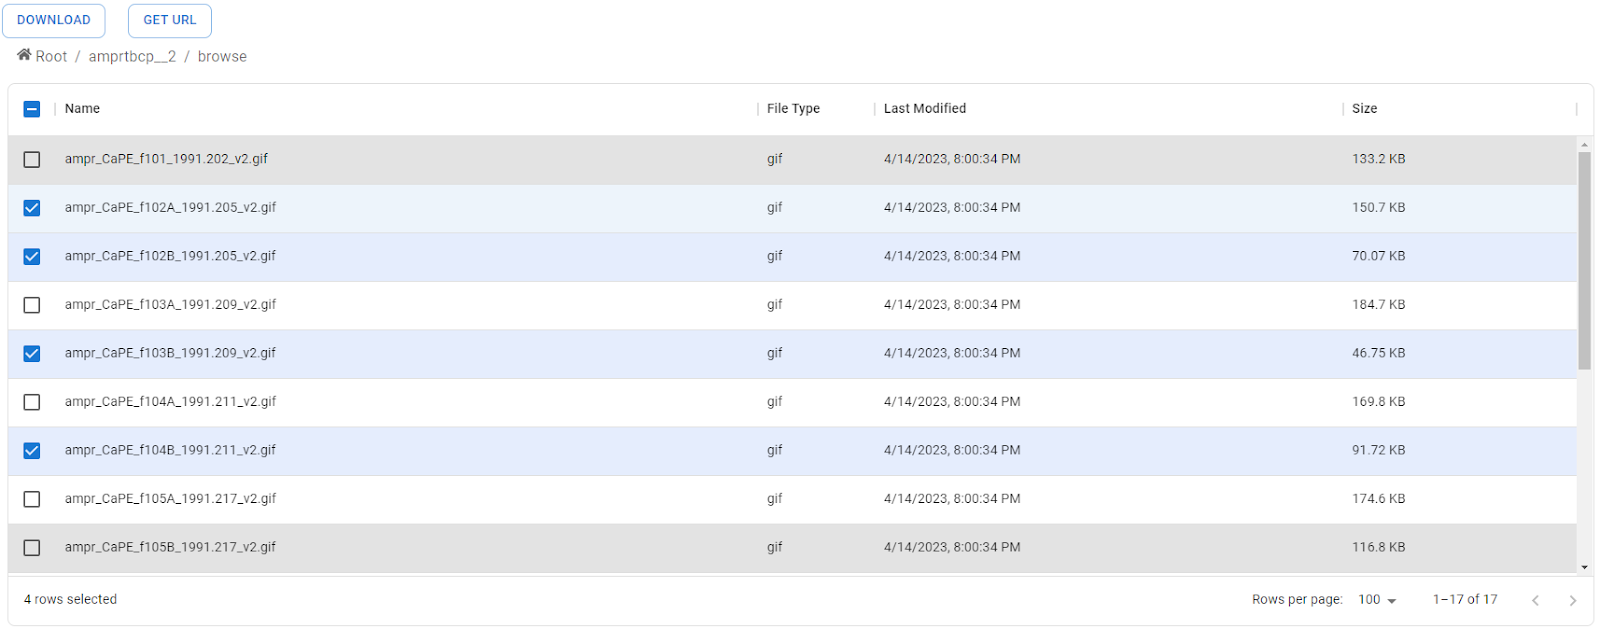
Figure 5.1: To download the selected file(s), click the ‘download’ button: 
Figure 5.2: To access the URL for the selected file(s), click the ‘Get URL’ button: 
Clicking the ‘Download’ button (Figure 5.1 above) saves the selected file(s) to a location of your choice on your machine.
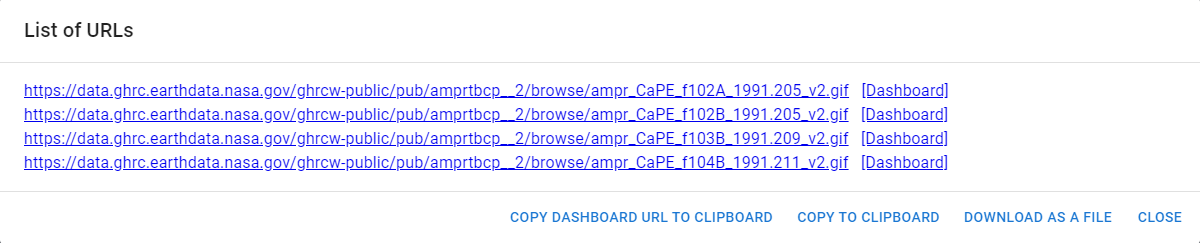
Clicking the ‘Get URL’ button (Figure 5.2 above) will show the next window in Figure 6. This window displays the list of URLs of the files that have been selected. Here, you are able to ‘copy dashboard URL to clipboard’, ‘copy to clipboard’, ‘download as a file’, and ‘close’ the window. Both of the source URLs and the Dashboard URLs are listed for the selected datasets. The source URL is used for citation and directs you to an external website displaying the document or image selected. The Dashboard URL opens the selected document or image within the Cloud Browse website.
Figure 6: List of URLs
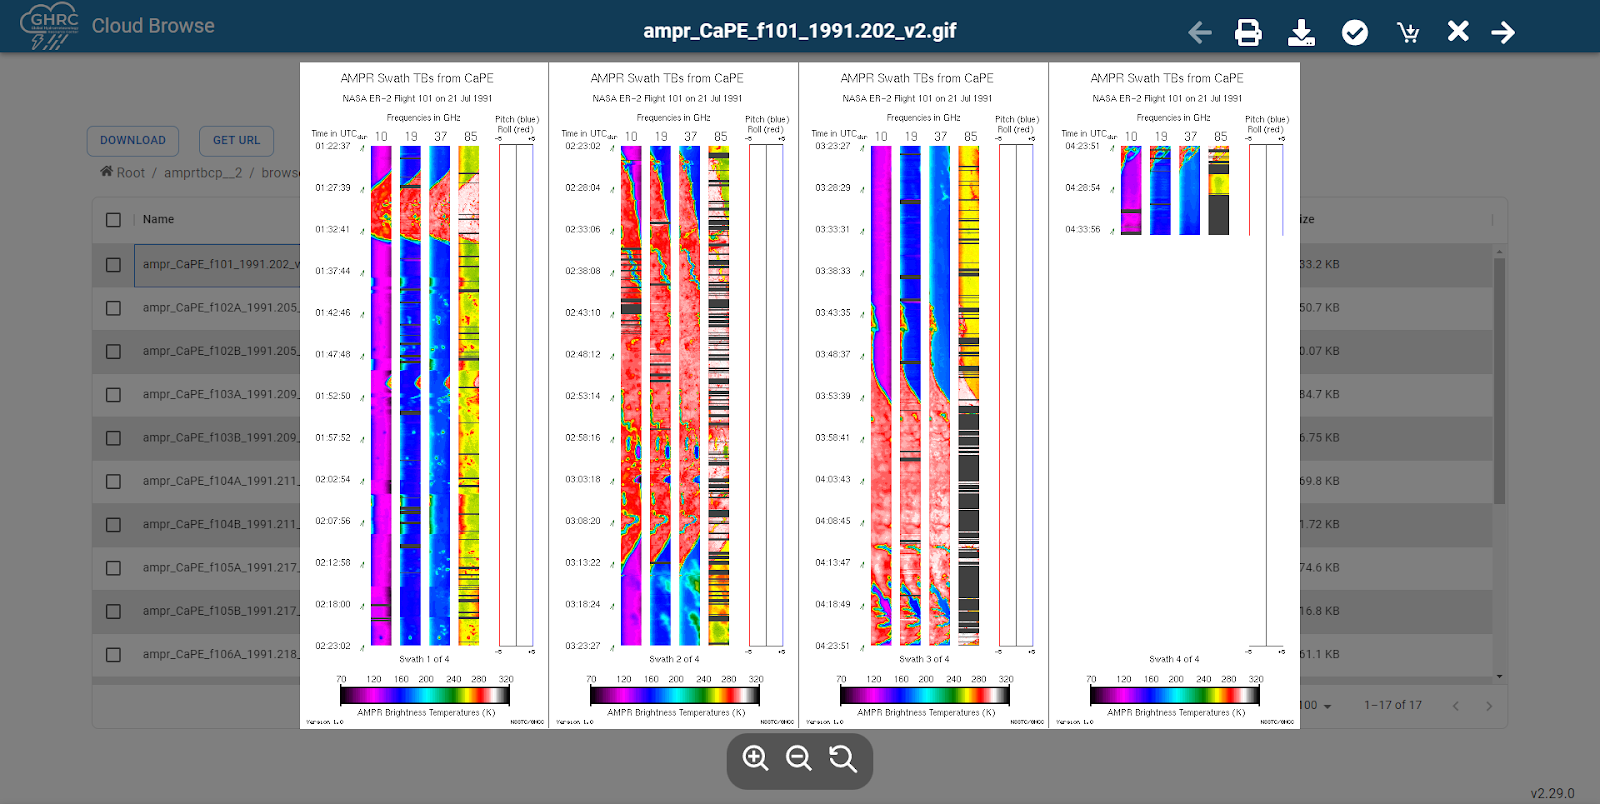
To view an image, click on the file name to view an image-viewer window shown below in Figure 7. In this example we chose the ampr_CaPE_f101_1991.202_v2.gif.
Figure 7: Image viewer
-
To zoom in on the image, click:

-
To zoom out on the image, click:

-
To reset the zoom to the original, click:

-
To view the previous file image, click the left arrow:

-
To view the following file image, click the right arrow:

-
To print the image, click the print icon:

-
To download the image you are viewing, print the download icon:

-
To select an image that you may download with others, click the select icon:

-
Once selected, the icon will become green:

-
To download all of the selected images, click the download cart icon:

-
To close the image-viewing window, click the ‘X’ icon:

Docs Directory
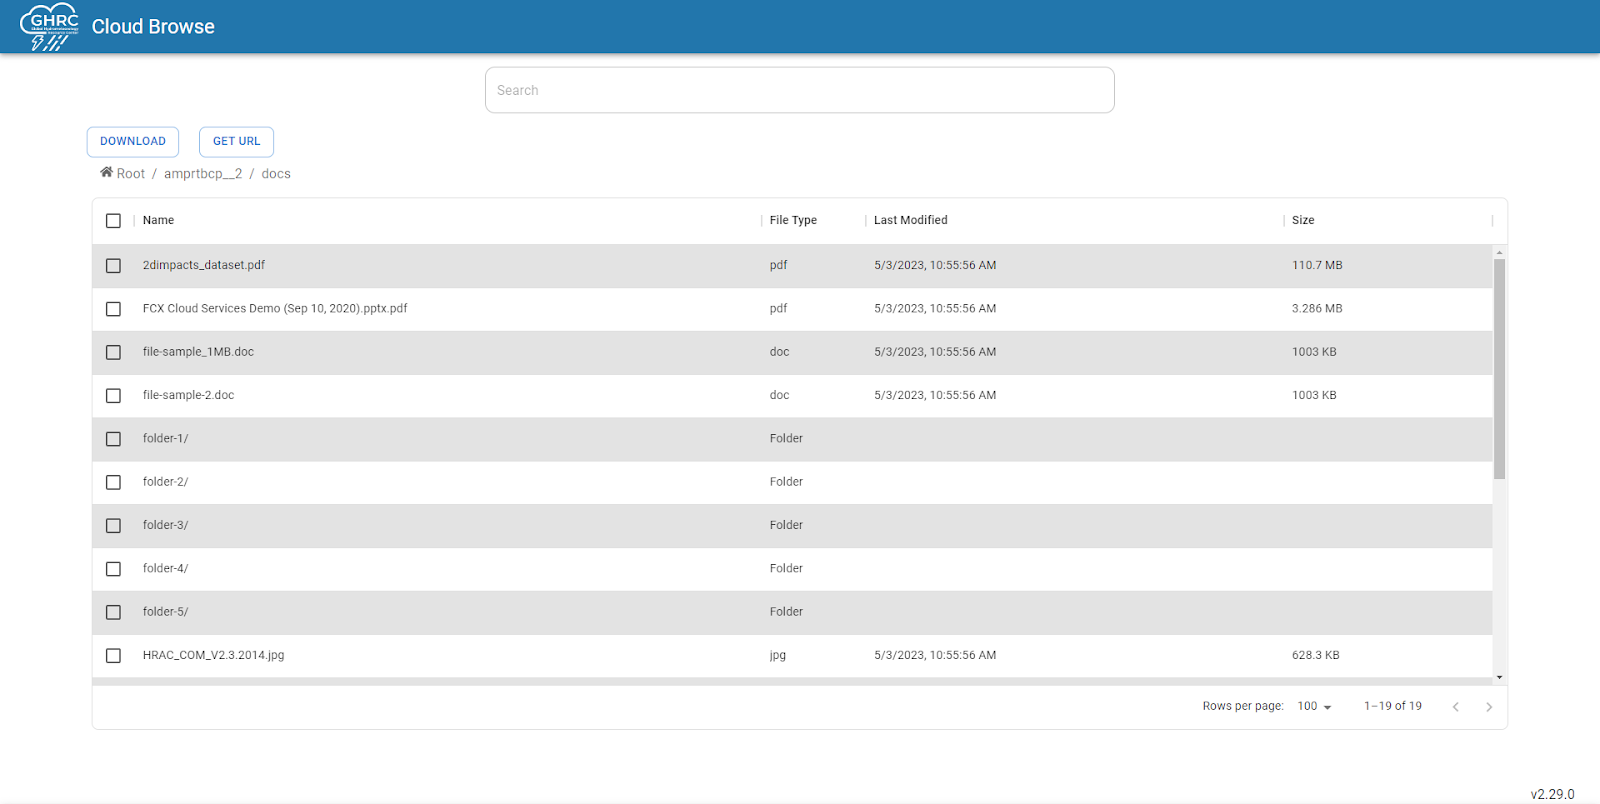
We can now use the navigation directory, previously shown in Figure 4, to navigate back to the amprtbcp__2 directory by clicking on amprtbcp__2. Once there, we can click on the “docs” directory as shown in Figure 8.
The ‘docs’ directory appears similar to the ‘browse’ directory.
Figure 8: Docs directory
The ‘docs’ directory lists any user guides, information notes, etc (text-related files) related to the dataset selected. For this example, please click on the first entry, 2dimpacts_dataset.pdf. This will open the PDF in a new window as shown below in Figure 9.
Figure 9: User Guide PDF Window
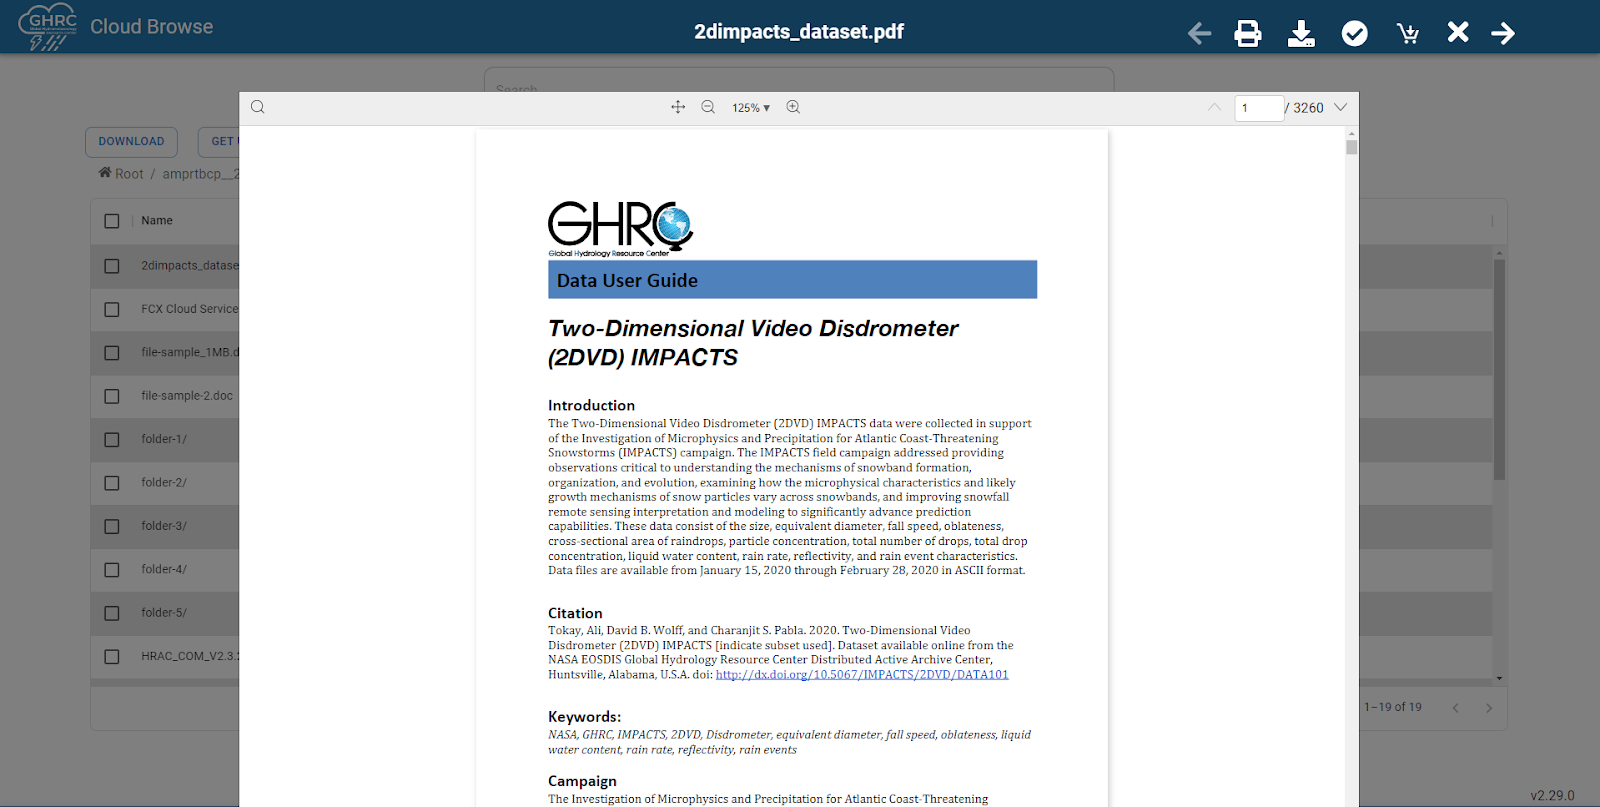
This window shows a user guide related to the dataset selected, in this case the two-dimensional video disdrometer for the IMPACTS field campaign. The name of the file is shown at the top-middle of the page and lists the page number and total of pages at the top-right of the document. At the top-left of the document, you can search for specific words and/or phrases by clicking the search icon. Directly above the document, you can view the document in full-screen and adjust the zoom.
The tools shown at the top-right of the page are similar to the tools from the image-viewer window.
-
To view the previous document, click the left arrow:
-
To view the following document, click the right arrow:
-
To print the document, click the print icon:
-
To download the document you are viewing, print the download icon:
-
To select a document that you may download with others, click the select icon:
-
Once selected, the icon will become green:
-
To download all of the selected documents, click the download cart icon:
-
To close the document-viewing window, click the ‘X’ icon:
Thank you for your interest in the Global Hydrometeorology Resource Center’s Cloud Browse tutorial document.
